
AE Mysteries The Squire’s Tale Walkthrough – Chapter 1
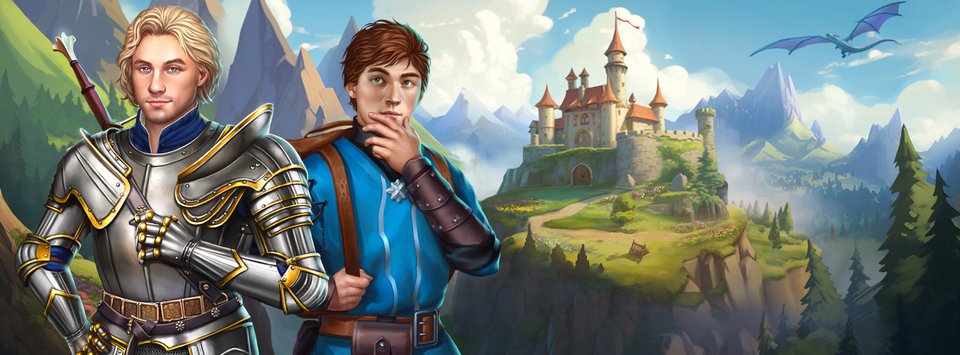
- You first meet Cedrick the knight and Martin the squire after hearing the legend of the Monster King. Cedric apparently made a mistake because he damaged the statue. Therefore, we must put it back together. Pick up the monster horn, arm, torch, tunic, and tunic.
- To wet the tunic, use a water bottle. The shield can then be cleaned with the damp tunic to show a goblin face. Later, we’ll require that.
- Burn the vines to the left with the torch. Grab the shovel and hammer after taking a look inside the cave. Additionally, take note of the wall’s fractures and painted shapes. Then take the goblin dictionary and the animal sculptures after using the hammer on the shattered wall.
- Burn the vines to the left with the torch. Grab the shovel and hammer after taking a look inside the cave. Additionally, take note of the wall’s fractures and painted shapes. Then take the goblin dictionary and the animal sculptures after using the hammer on the shattered wall.
- Puzzle Solution: Stars = 3, Diamonds = 5, Triangles = 7, Circles = 4, So enter 3574
- Let’s now repair the goblin statue. Apply adhesive to the statue first, and then join the arm and horn. Place the statues of animals close by. Decipher the two plaques using the dictionary. In the first, it is stated that “Gobby rose from the flames to open the way.” In the second, it is mentioned that Gobby is “Aided by one with the hard shell of a warrior.” Therefore, this is the solution. Start by picking the crab, an animal with a tough shell. Now lift your arms as indicated by the prior indication. Add flames as well because he emerged from them. Finally, the face is seen on the gleaming shield.
- We’re currently inside the mine. The goblins must be vanquished, and they must not get to Martin. To move Cedrick, choose a blue square. If the square is red, the goblin will be vanquished. For a one-time special attack on all the squares around Cedrick, use his whirlwind skill. He can run in a straight path and assault a goblin using the charge attack. To confirm the target, choose a red square. Selecting the X button will cancel. If you require assistance, you can watch my video through all three rounds.
- The goblins lose consciousness. Grab the crown, dagger, and equipment under the mat off the floor. Check out the painting. Cedrick will pull on the corner when you tap it, revealing another symbol. Find each of the five icons.
- Let’s open the closet door now. Utilize the painting’s hints. Just move along the painting in the order of height. Then get the equipment out of the closet. A book is also inside, but we can’t get to it just yet.
- To unlock the catapult and unlock a third gear, use the dagger.
- Insert all three gears after opening the panel to the left of the elevator. We can ride the elevator down a floor now that it is operating!
- We are now downstairs. Take the large duck statue and the pickaxe. Take note of the butterscotch candy bag, the kaleidoscope with slots in it, and the picture of the Goblin Lord toasting his 50th raid. A hint is also written on the door.
- Give the large duck statue to Cedrick, and he will drop a box from the ceiling. Grab the tinder and flint. A blue diamond can be seen if you also turn off the light to the right. For retrieval, use the pickaxe.
- Use the pickaxe to remove the book from the closet after returning to the top floor on the elevator. Find the golden diamond by browsing the book.
- Light a fire underneath the cauldron using the flint and tinder. After melting it, insert the crown to retrieve the red gem.
- Place the three gems in the kaleidoscope when you return upstairs.
- Let’s now figure out the Kaleidoscope Puzzle. To align the red, blue, and yellow squares inside the gold grid, drag the tabs. We now know the answer!
- Press the colored-in buttons on the kaleidoscope while tapping on the door’s grid.
- Another riddle must be solved to open another door. Draw a path this time from one circle to the other circle, passing through the two diamonds. If you become lost, you can follow my trail.
- And you guessed it, right? Another door and a new puzzle are present. The way this one works is that in order to get to the opposite circle, you must first draw through the diamond and then through each tile that surrounds each sun.
- There is also another door! The last puzzle is this one. You have to cross through the crosses both horizontally and vertically.
- Now we may proceed. Take the royal ruby, then view Chapter 1’s conclusion.


Customer Reviews
Thanks for submitting your comment!